We had our Demonstrator Christmas Party last night. We had some great projects, enjoy really great food, and had a fun time with our gift exchange. I wanted to share some photos with you:
L to R - Cathy, kelli, Kevin, Laura and Rosamond
Lucy, Vicky, Janet and Tim
Mary, Sharon, John, Brenda and Michael
Sandy (me), Ike, JoAnn, Pat, Reta and Kathy.
For some reason, I didn't get a photo of the food, but we had a great spread. Tim smoked pork steak and chicken all day and we had some wonderful sides and desserts. Laura had taken a photo of her decorated cookies, so I'll share those with you (the photo, the cookies are gone!).
Vicky was the winner of our Ugly Christmas Sweater Contest, with Brenda coming in a close second.
Vicky won a special medal and a new stamp set from the SAB catalog. The snowflakes around her collar lit up!
I made John and I matching shirts using the Visions of Santa stamp set from last year.
I don't know if you can tell, but Santa's suit has a little Stampin'Up! logo on it. I love this set - too funny!
Check back tomorrow and I'll share all the projects and gifts we made.
Merry Christmas everyone! We're spending the day with all the girls home and my Mom and sister visiting. We love to spend the holiday with family, playing games, eating, going to the movies, eating, crafting occasionally and especially - eating!
Over the next several days, I'll be sharing our December Paper Pumpkin, holiday cards I received and gifts from our Demonstrator Holiday Party. But, today, I wanted to share a few more of my favorite cards from classes, swaps, etc. I hope you enjoy.
These 2 cards used the words from the Wonderful Wreath Framelits Dies. The backgrounds were sponged with Soft Sky ink using the Dots and Stripes Decorative Masks. A few of the Frosted Sequins add a little more sparkle to the cards.
This fun card uses the Visions of Santa stamp set and the Santa & Co. DSP.
Both these gift card holders were made using a piece of the Trim the Tree DSP Stack. Too cute!
These gift card holders are made with the Gift Card Envelope & Trims Thinlits Dies and the Nordic Noel DSP stack. A Nordic Designer Button and some Real Red 3/8" Satin Ribbon finish off the front.
The back of the envelope has a fun closure.
This simple and elegant card uses the twig image and words from the Beauty of the Season stamp set. The background is stamped in Smokey Slate with the Woodgrain stamp.
This is the gold version of my Gentle Peace card.
This is the silver version. Both are beautiful in their simplicity.
This beautiful Christmas set will work well with Blendabilities for a gorgeous stained glass look. Recommended clear block sizes are A, F, & H (not included in the set).
Our photopolymer stamps offer a versatile all-clear stamping option. You'll find that our photopolymer is top-quality and gives a perfectly stamped image every time. The stamps stick amazingly well to our clear blocks and are easy to place just where you want them. And best of all, you get to enjoy tons of images for a great price!
You'll be chuckling, bowlful of jelly or not, as you enjoy these delightful illustrations of Santa warming up for his holiday work. Photopolymer. Set quantity: 8.
Even in the depths of winter, beauty can still be found all around us if we take the time to look. Express your hopeful feelings with these sentiments and artistic clear-mount stamps. Set quantity: 4.
You may worry about staying in shape during the holidays, but at least you can cut out shapes easily. Largest image: 3" x 3". Use with Big Shot and Standard Cutting Pads.
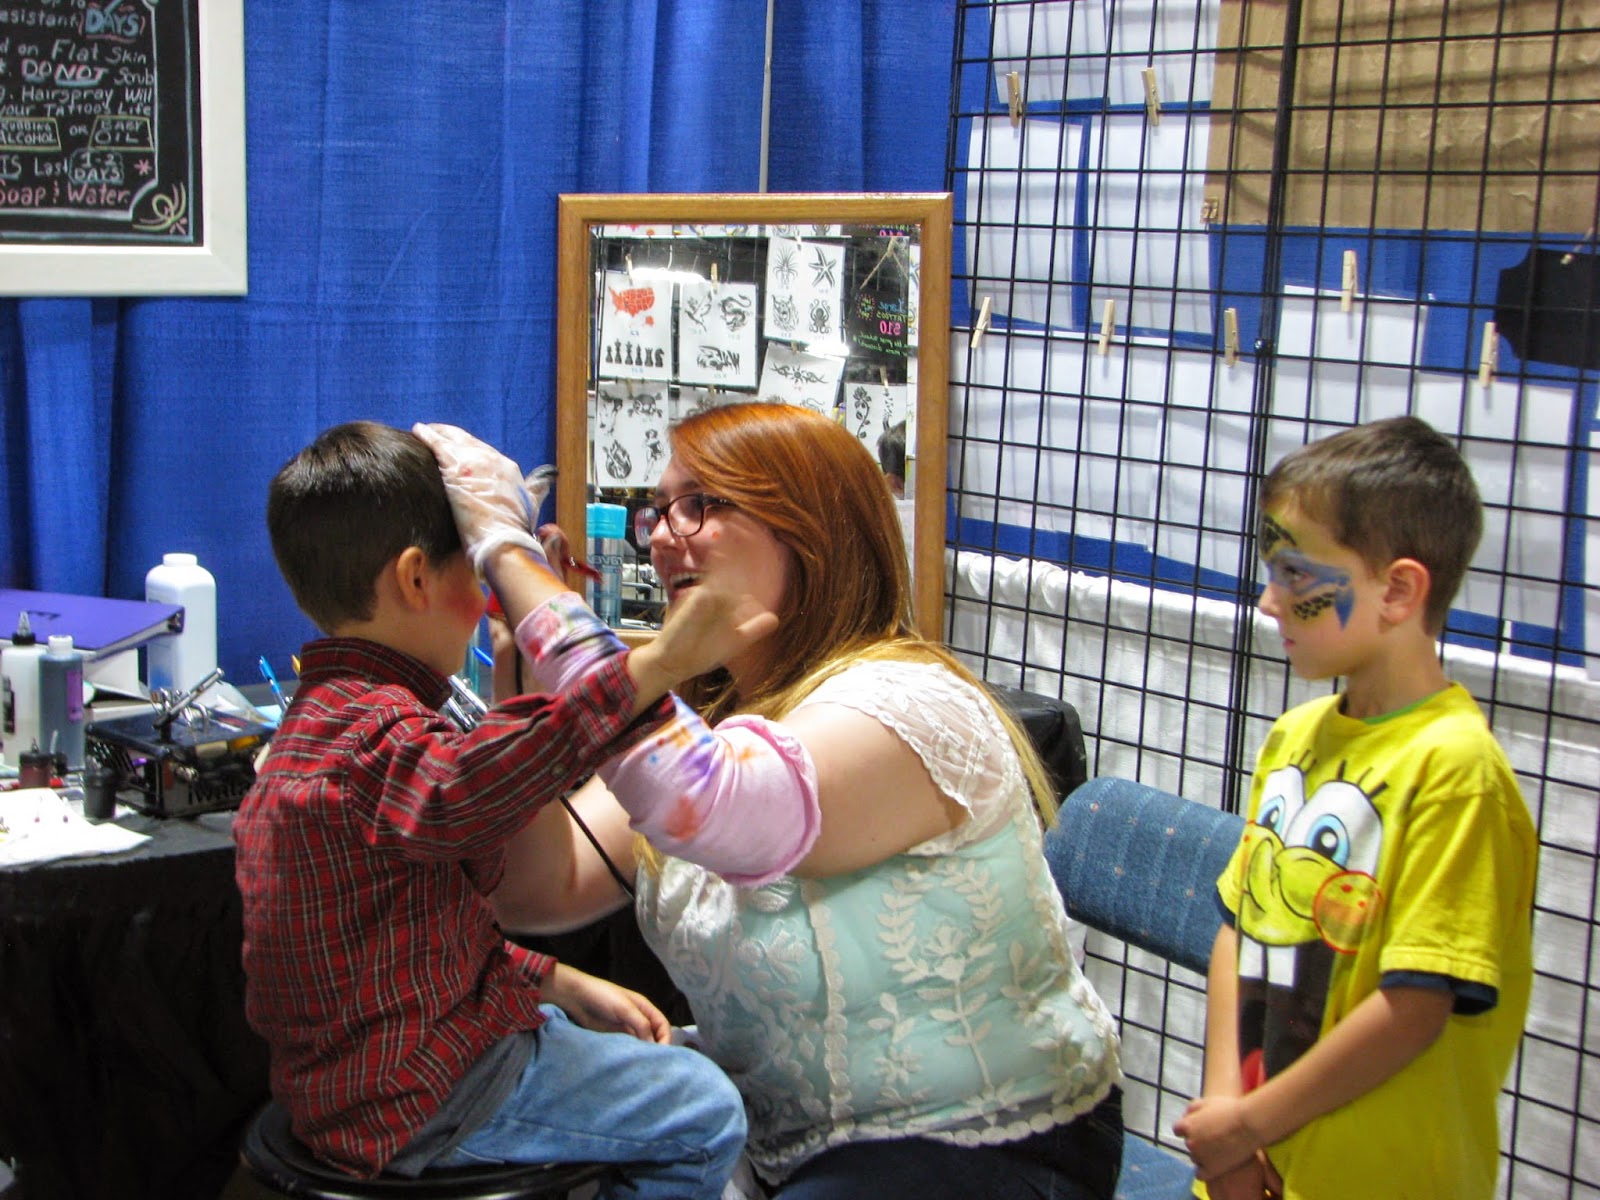
I'm exhausted today! We set up yesterday for the first day of the fair. Kim (my oldest) is having an airbrush booth. We have lots of technical difficulties the first day, but after 2 additional compressors and some trial and error, we think we having everything running. I'm helping her out during the day and her sisters are helping after classes. We're hoping business picks up, so if you're out at the NEA Fair this week, make sure to stop by and get a temporary tattoo or face paint. Here are a few photos:
My Paper Pumpkin subscribers should be receiving their kits soon (I haven't received mine yet), so I wanted to post this video by Stampin'Up! on how to use your kit. I'm really excited about this one and plan to use mine for Halloween treats for the girls and their roommates at ASU. Once I get my kit, I'll be sending out a bonus project to the subscribers. Do you want one too? Just sign up for My Paper Pumpkin's monthly kit (see link on right side of my blog) and you can get one of these great kits each month. Make sure to put me down as your demonstrator!
Today's project is a fun holiday card using the new Visions of Santa stamp set. This set is just too funny!
The Whisper White card stock was cut with the Party Pennants die and little strips of Santa & Co. DSP were added under a strip of Santa & Co. Designer Washi Tape.
Yes, I'm having Visions of Santa.
Supplies used:
Visions of Santa stamp set, Party Pennants Bigs L Die
Santa & Co. DSP, Santa & Co. Designer Washi Tape, 1/8" Real Red Taffeta Ribbon
Crumb Cake & Whisper White card stock, Real Red, Old Olive, Basic Gray and Blushing Bride ink with Blender Pens.
You'll be chuckling, bowlful of jelly or not, as you enjoy these delightful illustrations of Santa warming up for his holiday work. Photopolymer. Set quantity: 8.
In a season full of reds and greens, it takes a lot for something to stand out. That's where the Santa & Co. Designer Series Paper comes in, making the season a little brighter. 12 sheets: 2 ea. of 6 double-sided designs. Acid free, lignin free.
Make something that stands out—when you use these designs on a gift, don't be surprised if it outshines the tree itself. 3 designs per package: 3/8", 1/2", 5/8". 5 yds. ea. Lignin free.
I think I'm finally recuperated from the Christmas in August event on Saturday! I'll be finishing up a few kits tonight and had a class yesterday, one tomorrow and my downline meeting is tonight - yay! I'll be sharing photos over the next week or so of the Christmas event, along with some great swaps and our projects. The project I want to share today is my swap card using the new Visions of Santa stamp set. This is one of my favorites from the new holiday mini catalog because it's soooo funny. As soon as I saw it, I knew I had to make this card. It took a while to figure out the logistics, but it was worth it.
I used a retiring set for the inside verse, but it was fitting.
Here's the card in action:
Supplies used:
Visions of Santa stamp set(available 8/28/2014), Christmas Messages stamp set (Holiday Carryover List)
Black StazOn ink, Real Red, Smoky Slate, Old Olive, Blushing Bride ink pads,
Real Red, Old Olive, Basic Black, Whisper White, Silver Glimmer Paper card stock
1/4" Real Red Cotton Ribbon, 1-3/8" Circle Punch, Banner Punch, Blender Pens, Chalk Talk Framelits Dies.